Difference between revisions of "Create an Event"
(→Actions Work Flow) |
(→Applications Screen Flow) |
||
| Line 27: | Line 27: | ||
[[File:PTA_event.png|1250px]] | [[File:PTA_event.png|1250px]] | ||
| + | |||
| + | <big>'''Update Event'''</big> | ||
| + | |||
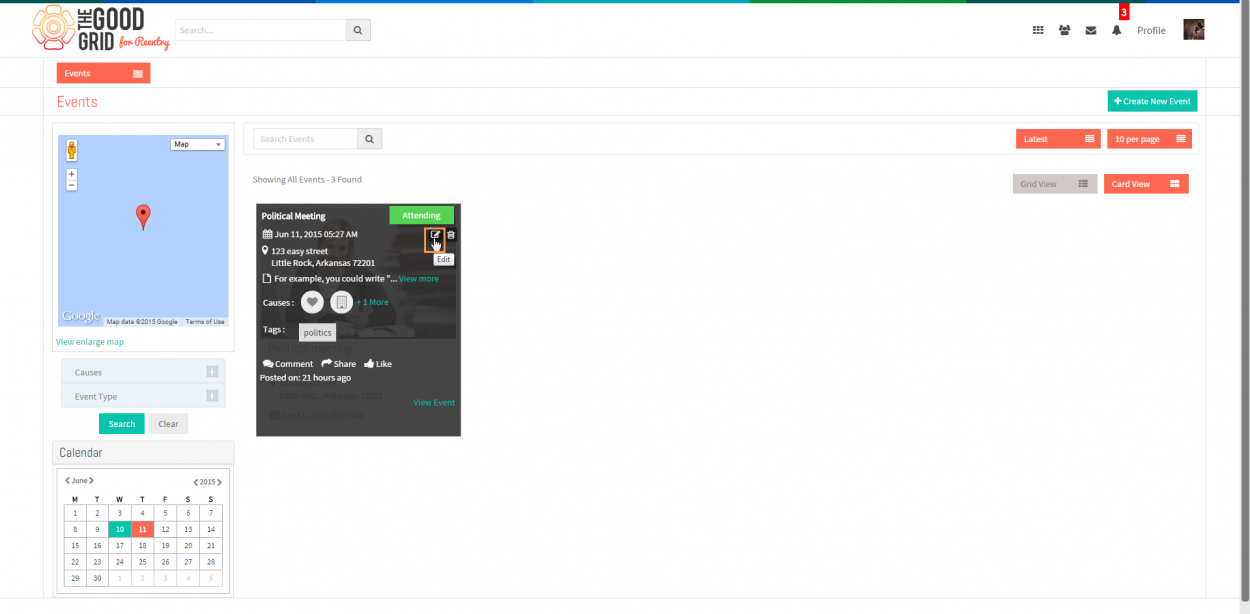
| + | * <big>Click on "Edit" icon to update the event,which will be displayed on mouse hover over the specific event badge</big> | ||
| + | |||
| + | [[File:Event_edit.png|1250px]] | ||
| + | |||
| + | <big>'''Delete Event'''</big> | ||
| + | |||
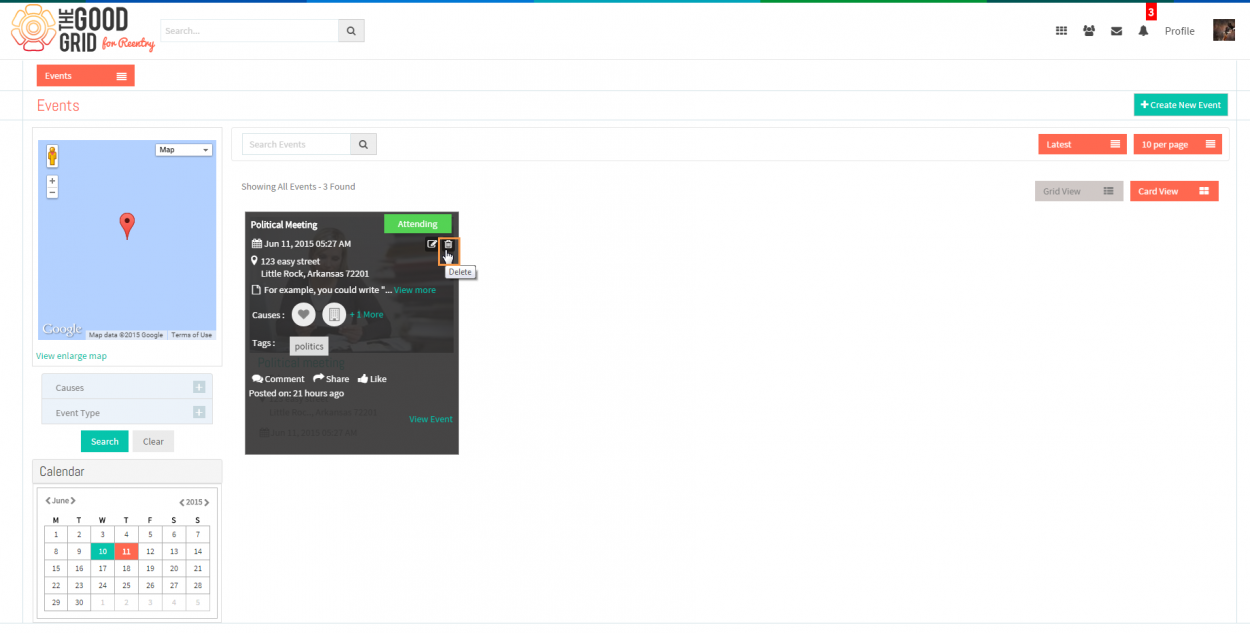
| + | * <big>Click on "Delete" icon to delete the event,which will be displayed on mouse hover over the specific event badge</big> | ||
| + | |||
| + | [[File:Event_delete.png|1250px]] | ||
Revision as of 02:33, 11 June 2015
Back To Main Menu
Actions Work Flow
Applications Screen Flow
Event Creation
Path: Human Resources - Manage Employee Category
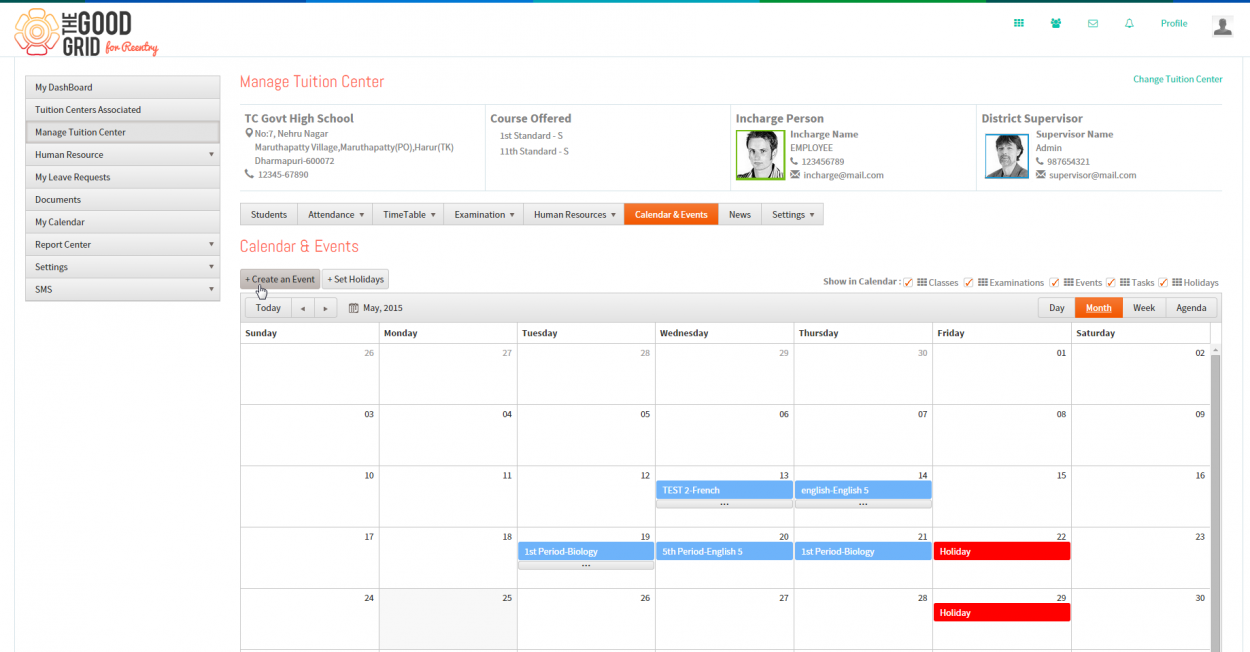
- Click on "Create an Event" button in the "Calendar & Events" module.
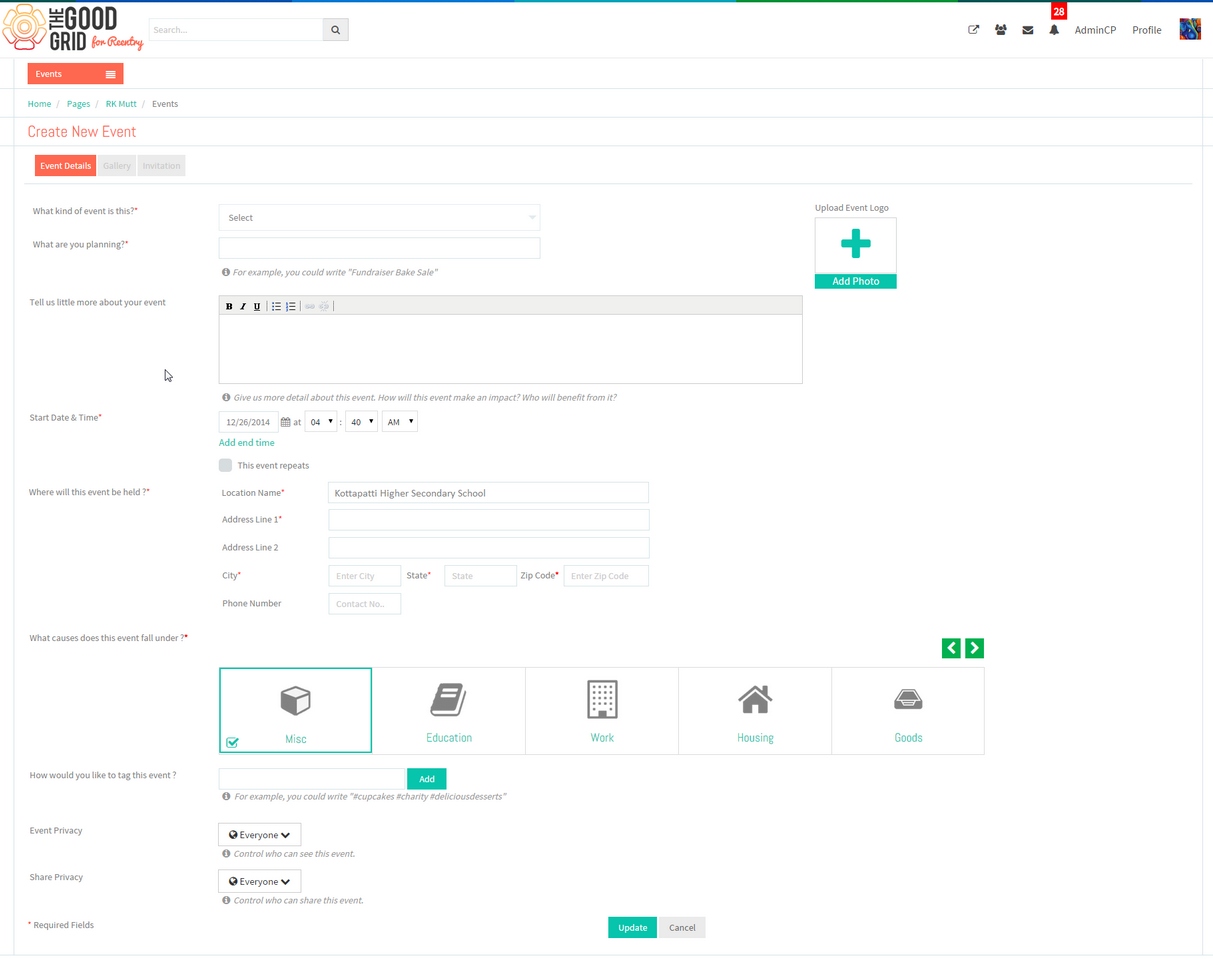
- On clicking,it gets navigated to the corrresponding page's event creation screen.
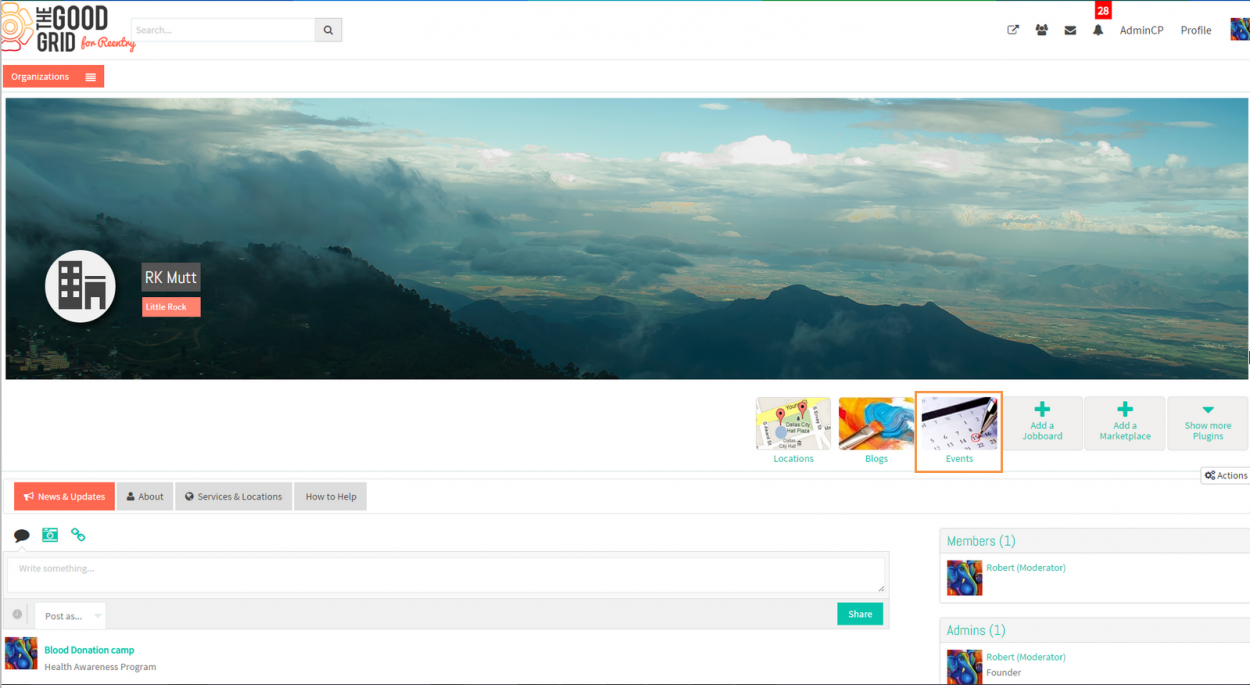
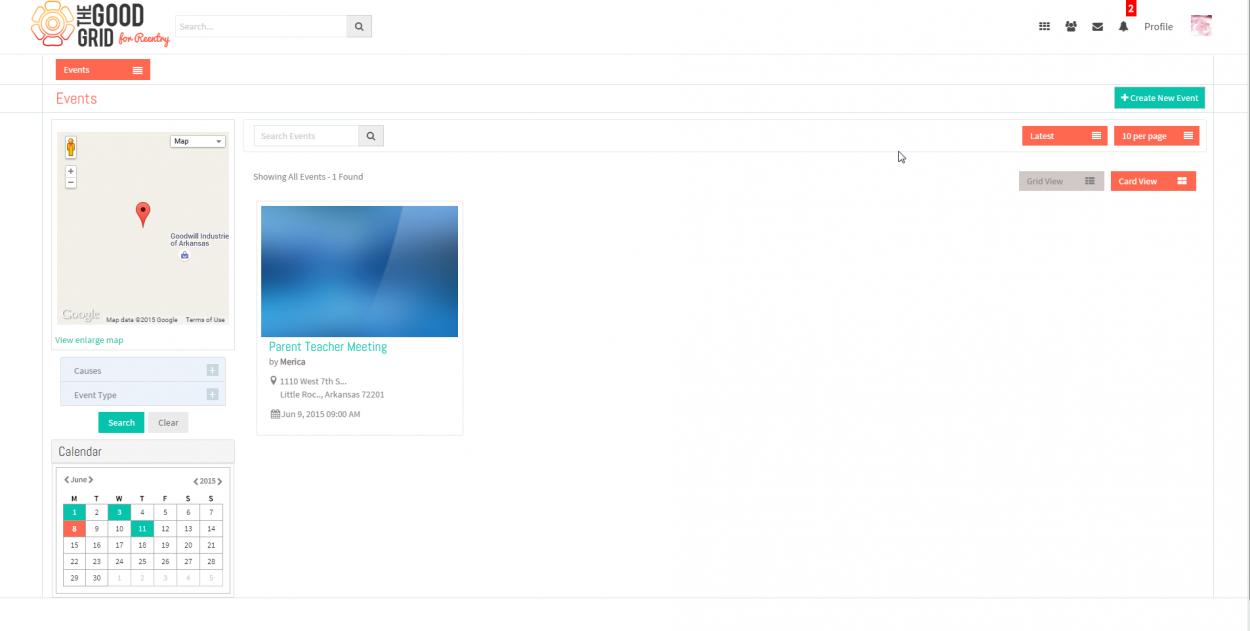
- Once the event is been created,it will get displayed under the "Events" plugin in the corresponding page.
- Click on the event plugin to view the events created.
Update Event
- Click on "Edit" icon to update the event,which will be displayed on mouse hover over the specific event badge
Delete Event
- Click on "Delete" icon to delete the event,which will be displayed on mouse hover over the specific event badge


