Difference between revisions of "How to add and view Saved Search"
| Line 14: | Line 14: | ||
| − | [[File:h.png| | + | [[File:h.png|1200px]] |
| Line 29: | Line 29: | ||
| − | [[File:j.png| | + | [[File:j.png|1200px]] |
---- | ---- | ||
| Line 36: | Line 36: | ||
| − | [[File:k.png| | + | [[File:k.png|1200px]] |
---- | ---- | ||
| Line 43: | Line 43: | ||
| − | [[File:m.png| | + | [[File:m.png|1200px]] |
---- | ---- | ||
| Line 50: | Line 50: | ||
| − | [[File:x.png| | + | [[File:x.png|1200px]] |
---- | ---- | ||
| Line 57: | Line 57: | ||
| − | [[File:ac.png| | + | [[File:ac.png|1200px]] |
Revision as of 08:36, 15 December 2014
Actions Work Flow
Applications Screen Flow
1. Select any no of Service(s) to be assisted with and then click 'Next' button.
2. Select specific kinds of Service(s) , enter the 'Date of Service' needed and then click 'Next' Button.
3. Enter 'Additional Comments' related to the selected Service and then click 'Next' Button.
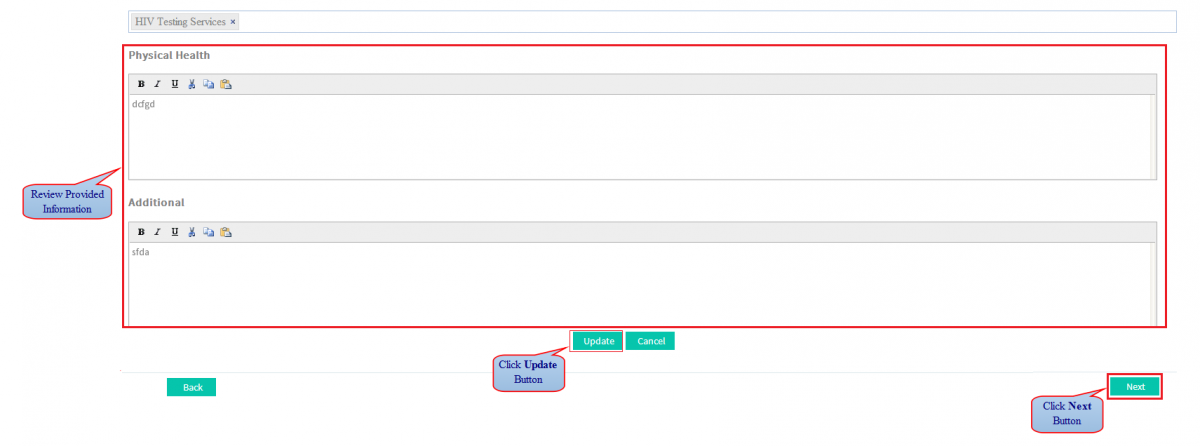
4. Review Provided Information; click 'Update' button to update Information if any and then click 'Next' Button.
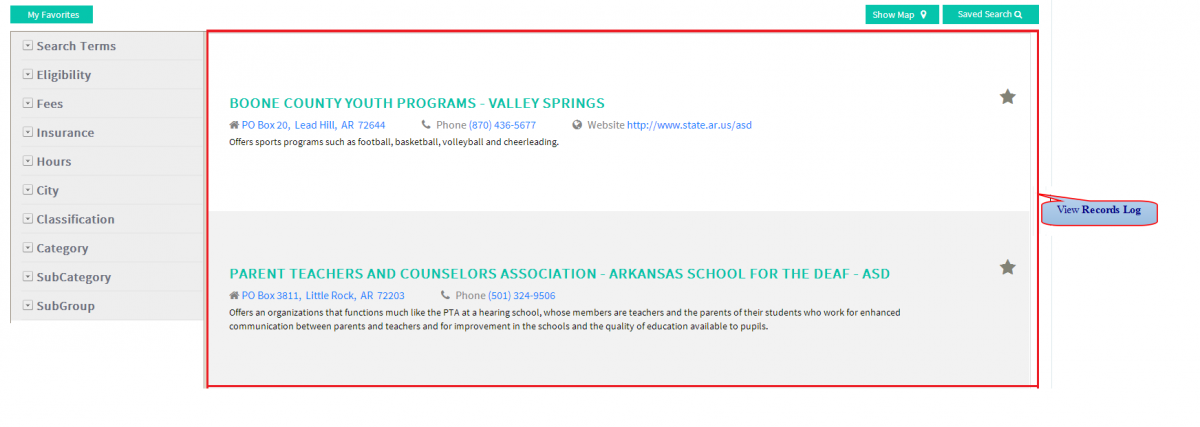
5. Navigate to Records Log Screen.
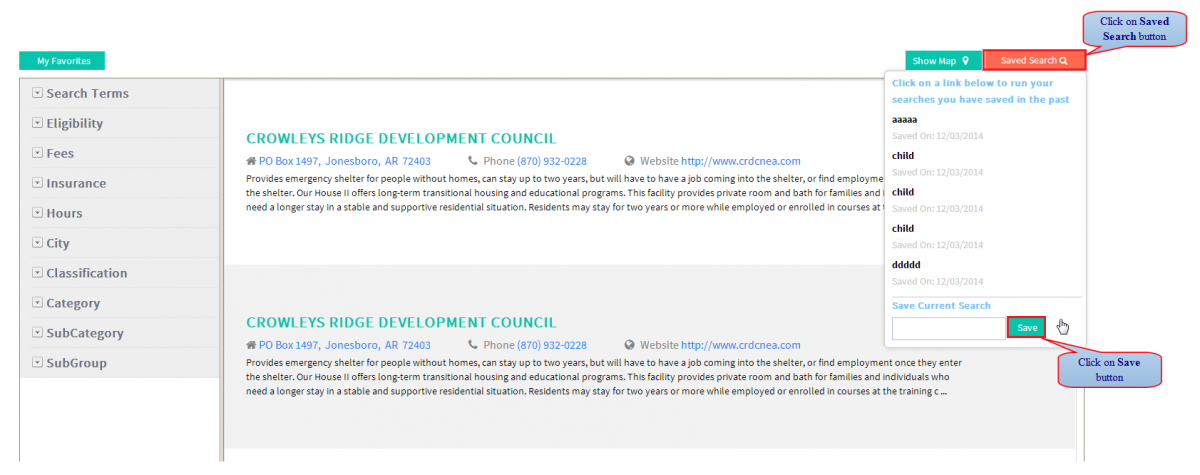
6. Click on 'Saved Search' button.
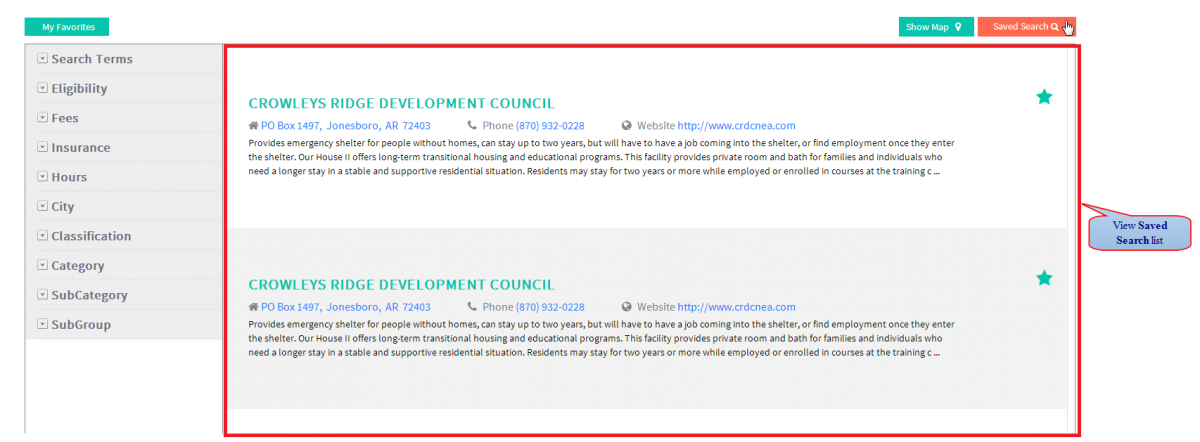
7. View Saved Search List.

