Difference between revisions of "How to add and view Saved Search"
(→Applications Screen Flow) |
(→Applications Screen Flow) |
||
| Line 14: | Line 14: | ||
---- | ---- | ||
| − | + | 1. Select any no of Service(s) to be assisted with and then click ''''Next'''' button. | |
| Line 22: | Line 22: | ||
---- | ---- | ||
| − | + | 2. Select specific kinds of Service(s) , enter the ''''Date of Service'''' needed and then click ''''Next'''' Button. | |
| Line 29: | Line 29: | ||
---- | ---- | ||
| − | + | 3. Enter ''''Additional Comments'''' related to the selected Service and then click ''''Next'''' Button. | |
| Line 36: | Line 36: | ||
---- | ---- | ||
| − | + | 4. Review Provided Information; click ''''Update'''' button to update Information if any and then click ''''Next'''' Button. | |
| Line 43: | Line 43: | ||
---- | ---- | ||
| − | + | 5. Navigate to Records Log Screen. | |
| Line 50: | Line 50: | ||
---- | ---- | ||
| − | + | 6. Click on ''''Saved Search'''' button. | |
| Line 57: | Line 57: | ||
---- | ---- | ||
| − | + | 7. View Saved Search List. | |
[[File:ViewSavedSearchList.png]] | [[File:ViewSavedSearchList.png]] | ||
Revision as of 08:50, 19 December 2014
Actions Work Flow
Click on the either link to know about beginning Reentry Planning : How to begin Reentry Planning for Existing User or How to begin Reentry Planning for New User
Applications Screen Flow
1. Select any no of Service(s) to be assisted with and then click 'Next' button.
2. Select specific kinds of Service(s) , enter the 'Date of Service' needed and then click 'Next' Button.
3. Enter 'Additional Comments' related to the selected Service and then click 'Next' Button.
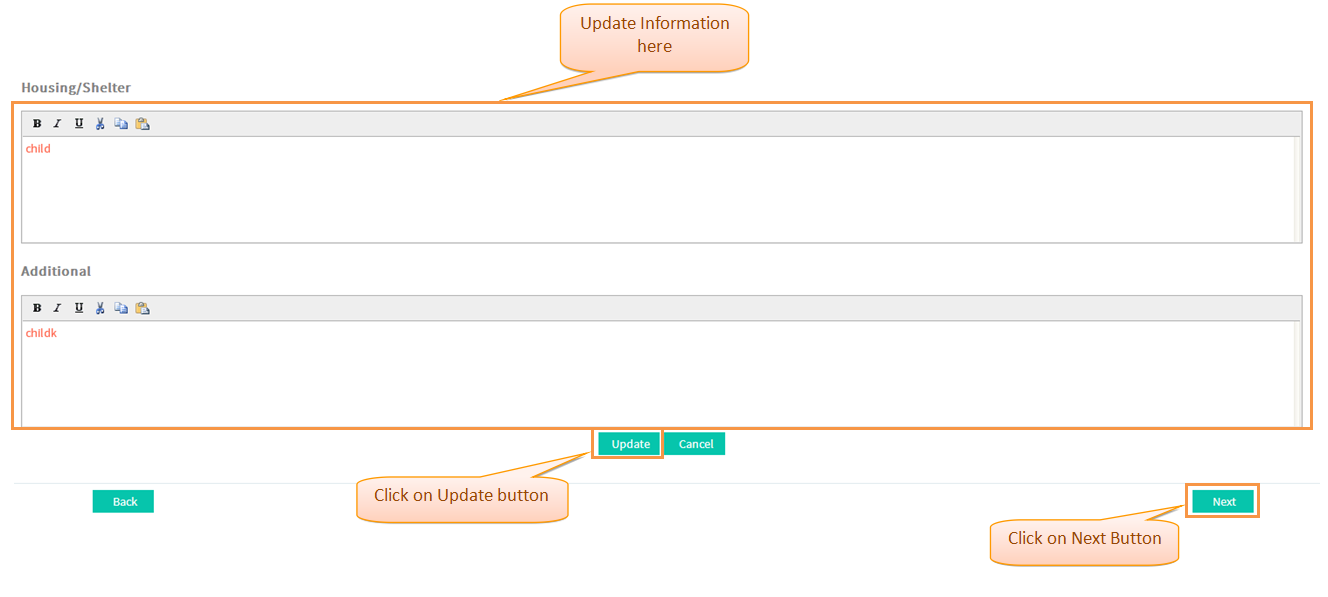
4. Review Provided Information; click 'Update' button to update Information if any and then click 'Next' Button.
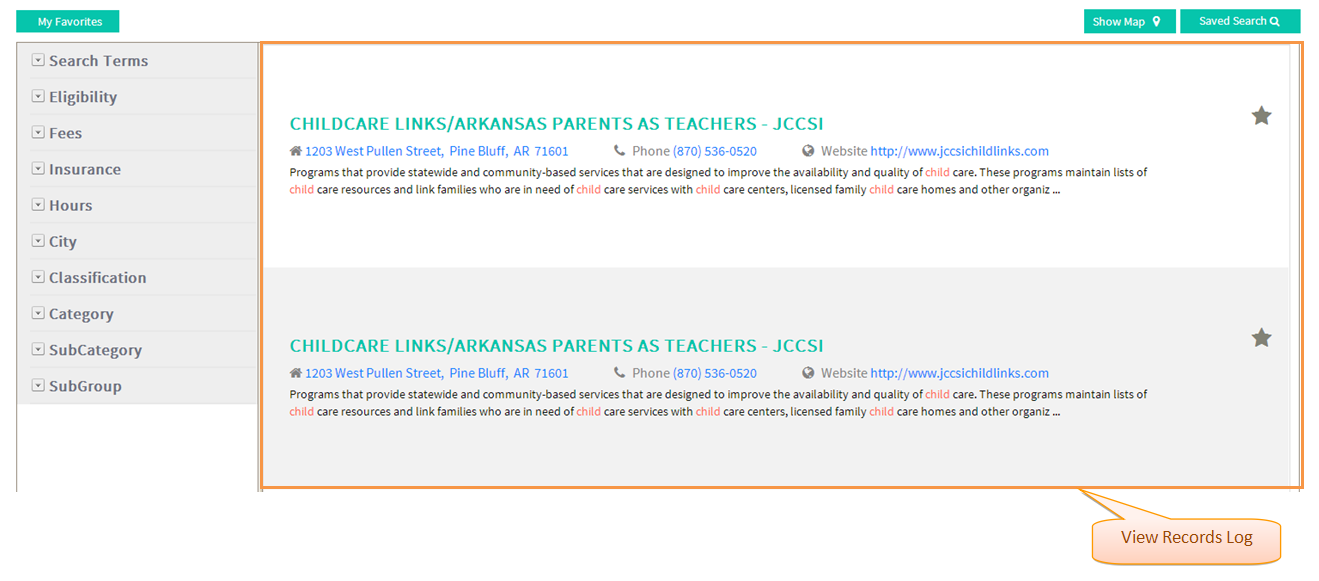
5. Navigate to Records Log Screen.
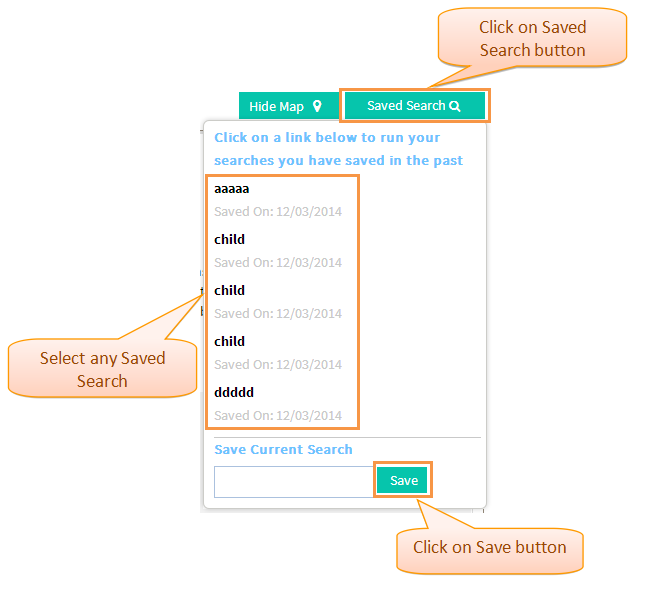
6. Click on 'Saved Search' button.
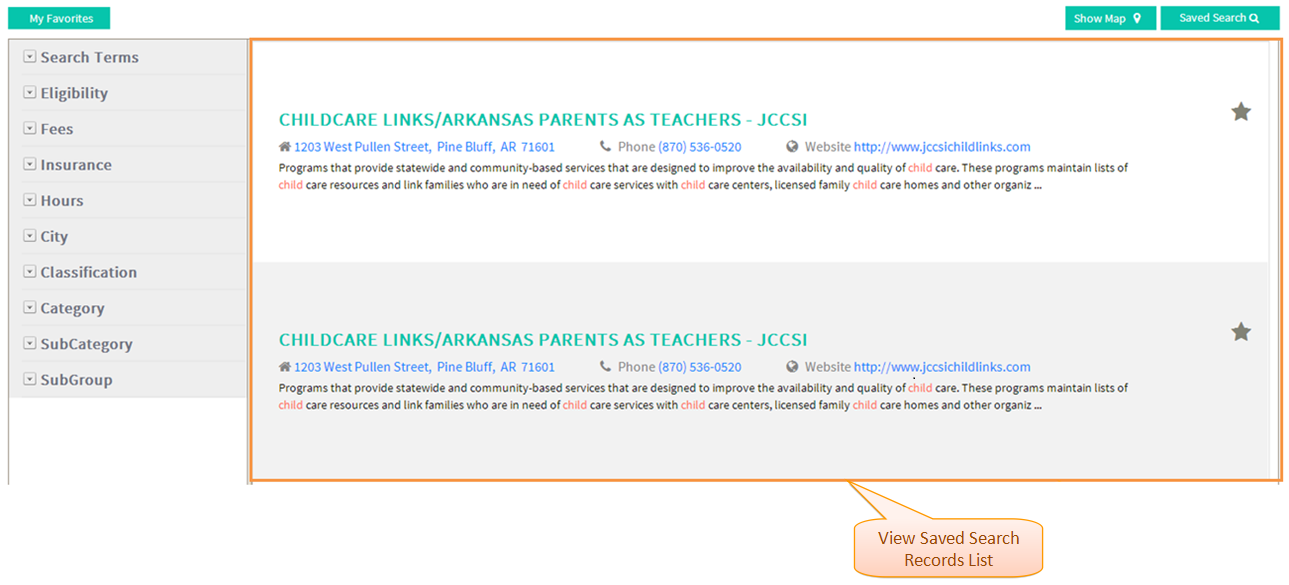
7. View Saved Search List.


