Difference between revisions of "How to apply for Services"
(→Applications Screen Flow) |
(→Applications Screen Flow) |
||
| Line 26: | Line 26: | ||
[[File:Step2.png]] | [[File:Step2.png]] | ||
| + | |||
---- | ---- | ||
| Line 33: | Line 34: | ||
[[File:AdditionalCommentsScreen.png]] | [[File:AdditionalCommentsScreen.png]] | ||
| + | |||
---- | ---- | ||
| Line 40: | Line 42: | ||
[[File:ReviewInformation.png]] | [[File:ReviewInformation.png]] | ||
| + | |||
---- | ---- | ||
| Line 47: | Line 50: | ||
[[File:ViewRecordsLog.png]] | [[File:ViewRecordsLog.png]] | ||
| + | |||
---- | ---- | ||
| Line 54: | Line 58: | ||
[[File:HowtoApplyTab.png]] | [[File:HowtoApplyTab.png]] | ||
| + | |||
---- | ---- | ||
| Line 65: | Line 70: | ||
[[File:SwapPointsoption.png]] | [[File:SwapPointsoption.png]] | ||
| − | |||
---- | ---- | ||
Revision as of 04:59, 23 December 2014
Actions Work Flow
Click on the either link to know about beginning Reentry Planning : How to begin Reentry Planning for Existing User or How to begin Reentry Planning for New User
Applications Screen Flow
- Select any no of Service(s) to be assisted with and then click 'Next' button.
- Select specific kinds of Service(s) , enter the 'Date of Service' needed and then click 'Next' Button.
- Enter 'Additional Comments' related to the selected Service and then click 'Next' Button.
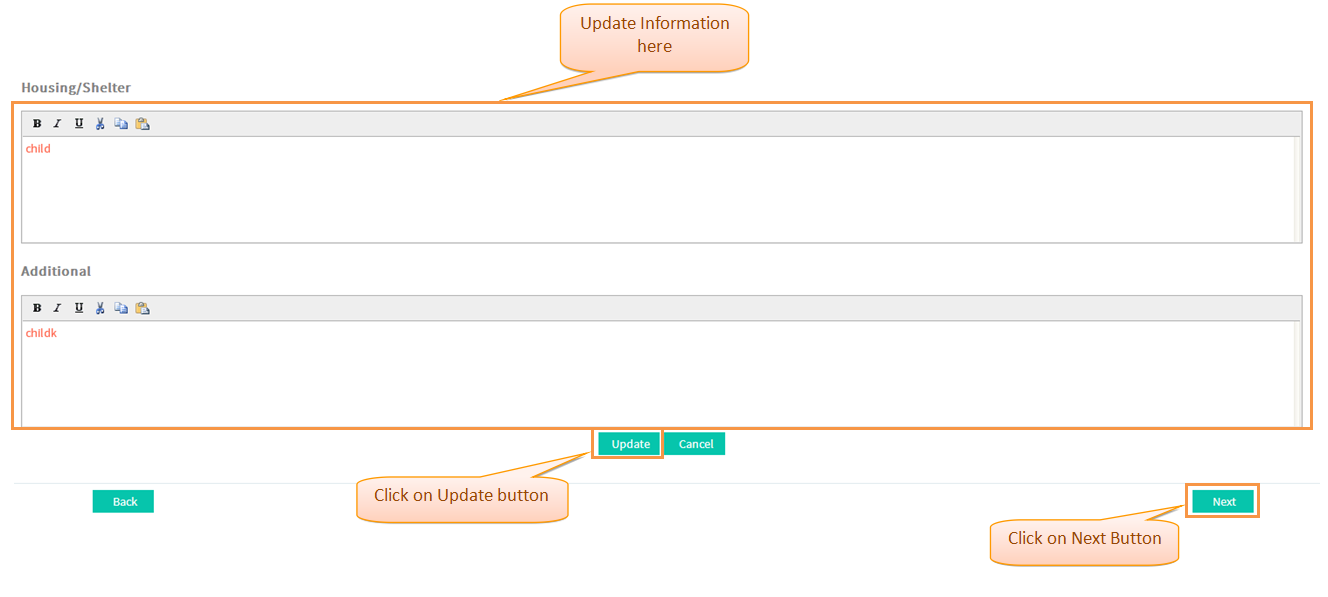
- Review Provided Information; click 'Update' button to update Information if any and then click 'Next' Button.
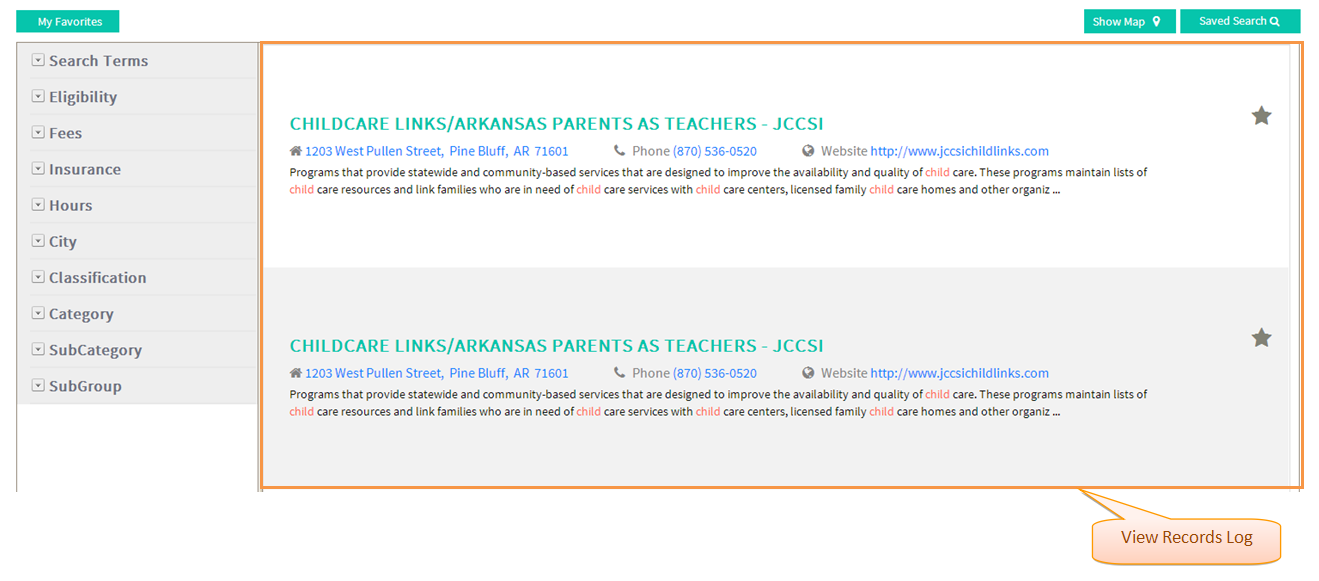
- Navigate to Records Log Screen.
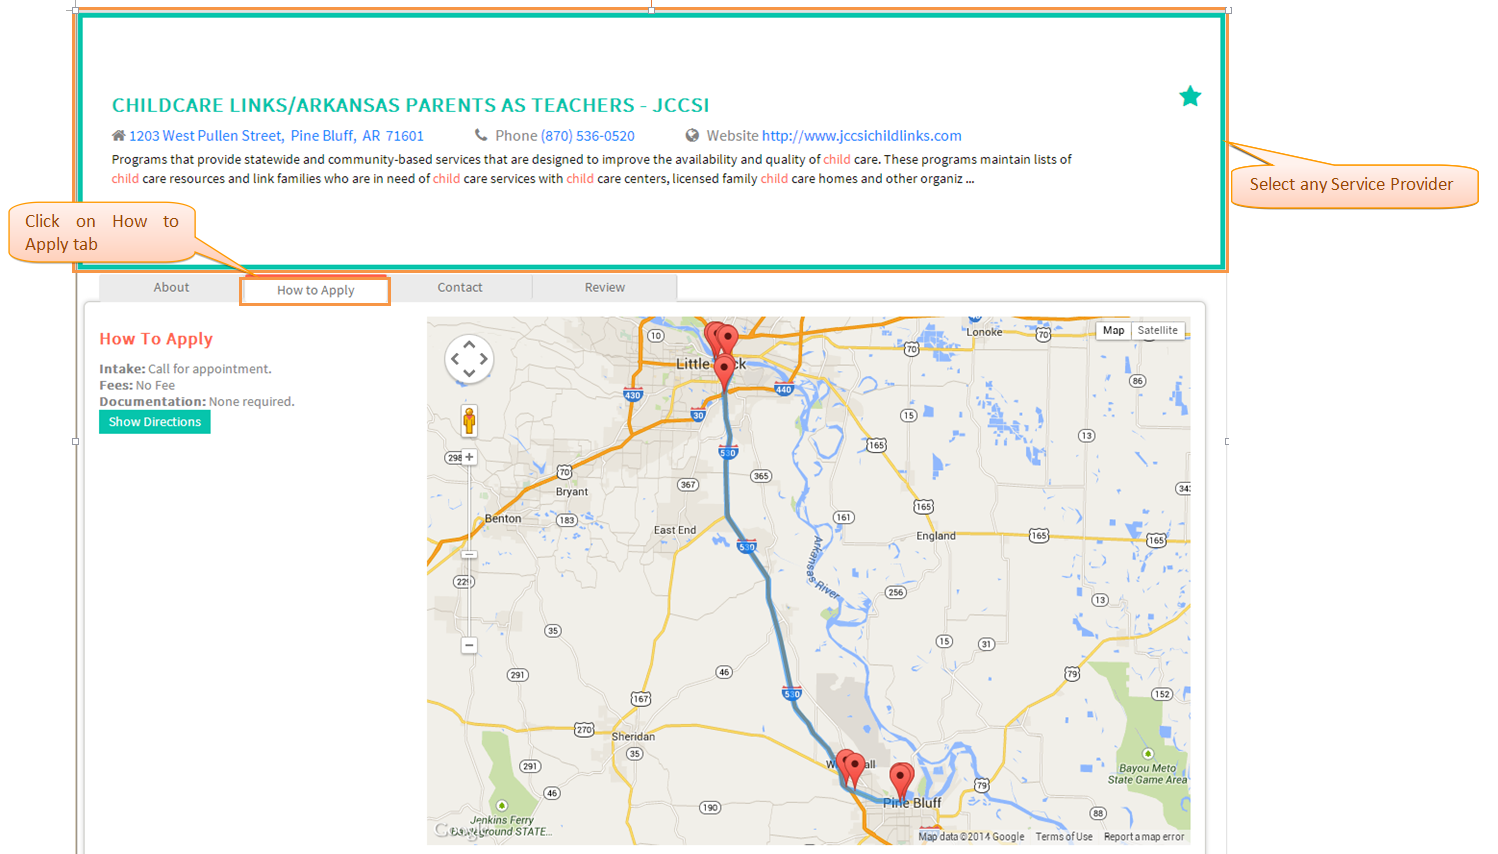
- Select any Service Provider and then click on 'How to Apply' tab.
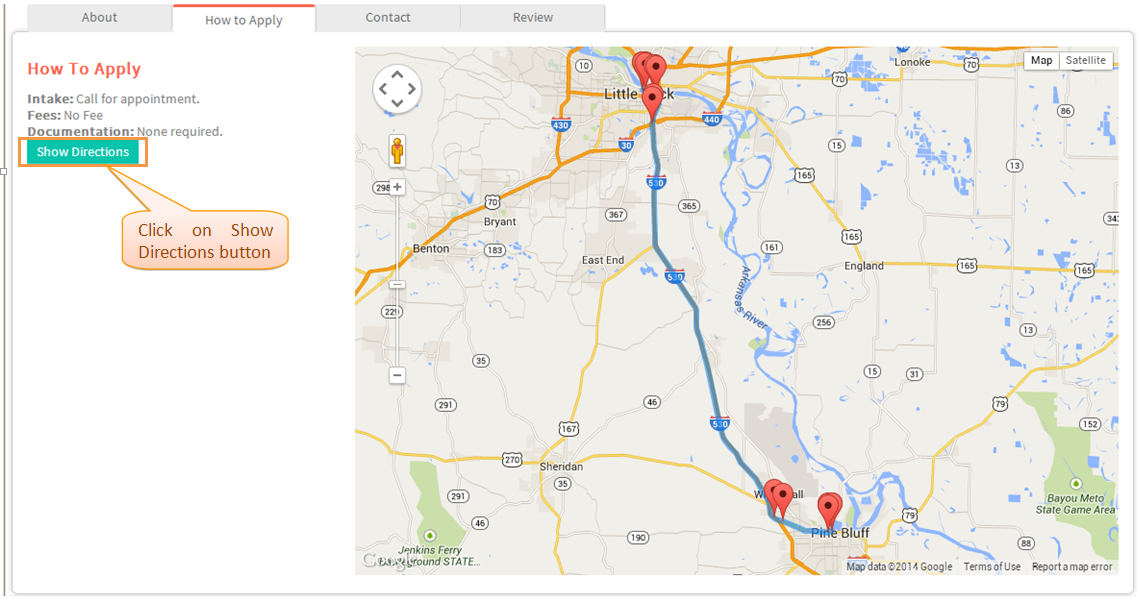
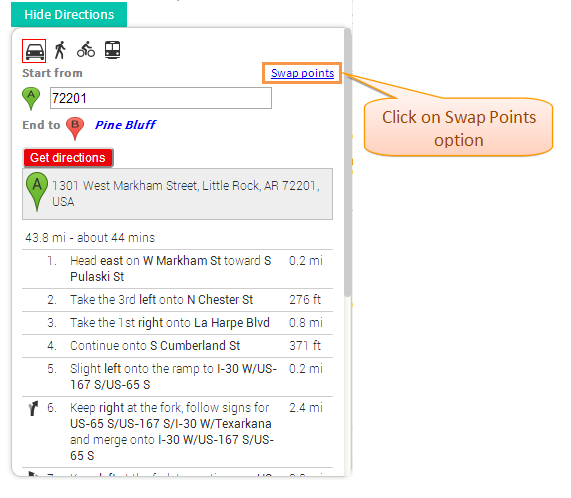
- Click on 'Show Directions' button and select 'Swap Points' option if needed .
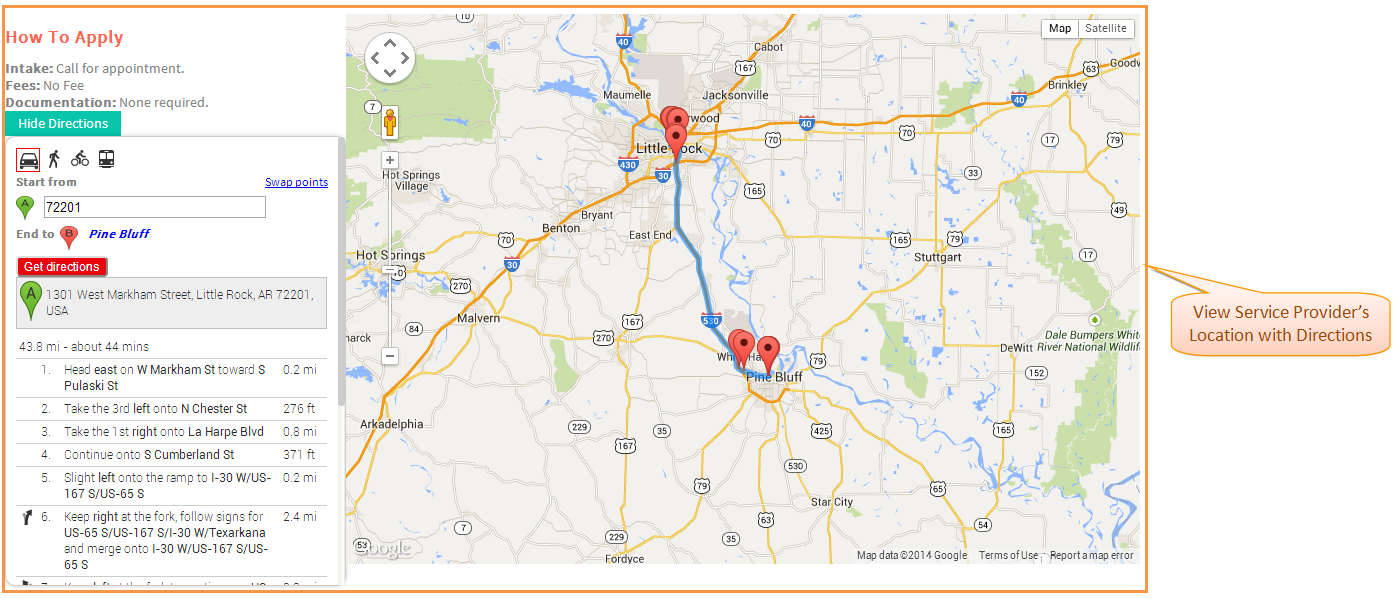
- View the 'Service Provider's' location along the Directions .


